
Though the process of turning green leaves into brilliant blue dye through fermentation has been practiced for thousands of years, it still feels magical. Most natural dye colors are derived from bark, berries, or leaves that can be boiled down and dyed with—but the process of making blue dye is much more difficult.
Every community that makes indigo from Mexico, to Nigeria, and Japan has its own spiritual rituals, recipes, and techniques for creating natural indigo dye. In India, the birthplace of indigo, dye paste is dried into cakes for easy transportation and trade. The synthetic dyes which enable today’s plentiful supply of commercial denim and tie-dyed products replicate the look of natural dye almost exactly. Since Levi Strauss created his first pair of workwear blue jeans with indigo in 1873, though, the process has changed remarkably. As a fashion designer,
I've designed denim for Levi's and other brands who have the large-scale manufacturing capabilities of washing, distressing, and styling denim for mass market. But when I first witnessed the wondrous natural process of making indigo from plant to paste at a small studio in Thailand, I fell in love with the traditional process and the brilliant color it produces.
This is the real deal. I have returned again and again to Studio Naenna in Chiang Mai to learn from esteemed author and artist Patricia Cheesman who has been practicing this art form for 25 years.
The Natural Indigo Dye Process
Here's the 10 step process of making natural indigo dye as learned from Patricia and the team at Studio Naenna.
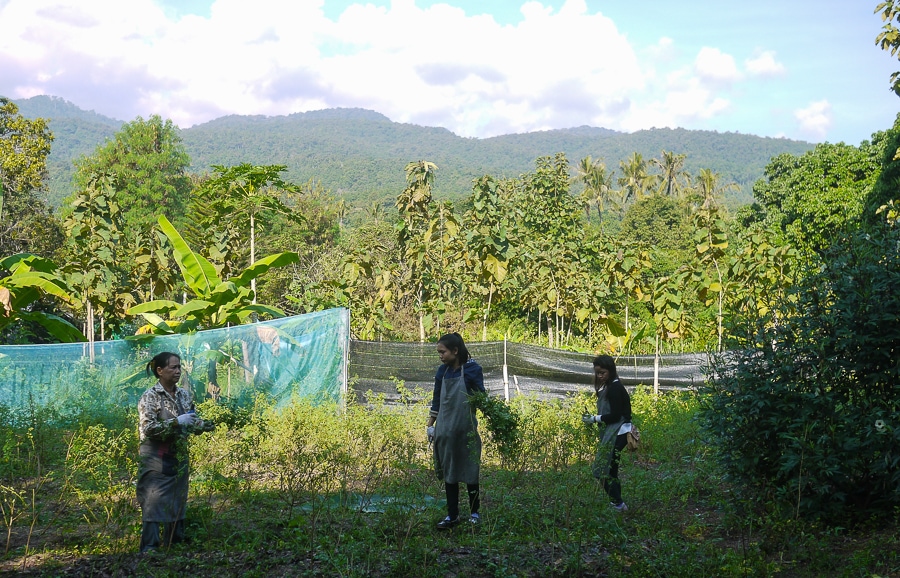
Step 1: Harvesting the indigo
The indigiferna tinctoria was planted during Thailand’s rainy season in June. By September or October, the plants are ready to be pruned and used for making dye.
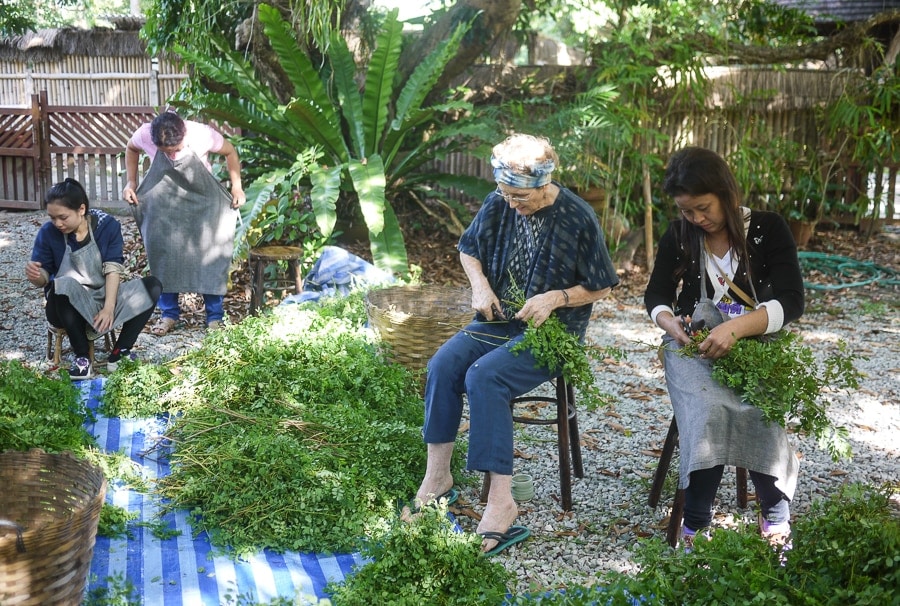
Step 2: Bundling
We bundle the small leaf Indiofera tinctoria leaves together using stems as ties. The larger leaf varieties of indigo like Strobilanthes flaccidifolius can go straight into the bins.
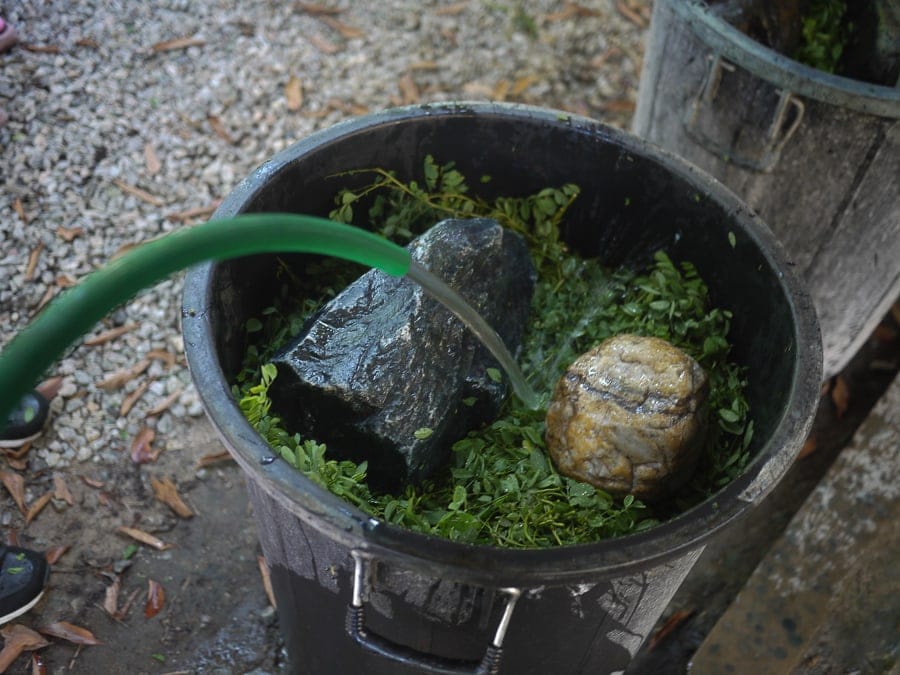
Step 3: Soaking
Water is added to the bins containing the bundles. Heavy stones are used to press the color from the leaves during an overnight soak. The covered bins need to sit for about 24 hours, depending on the weather.
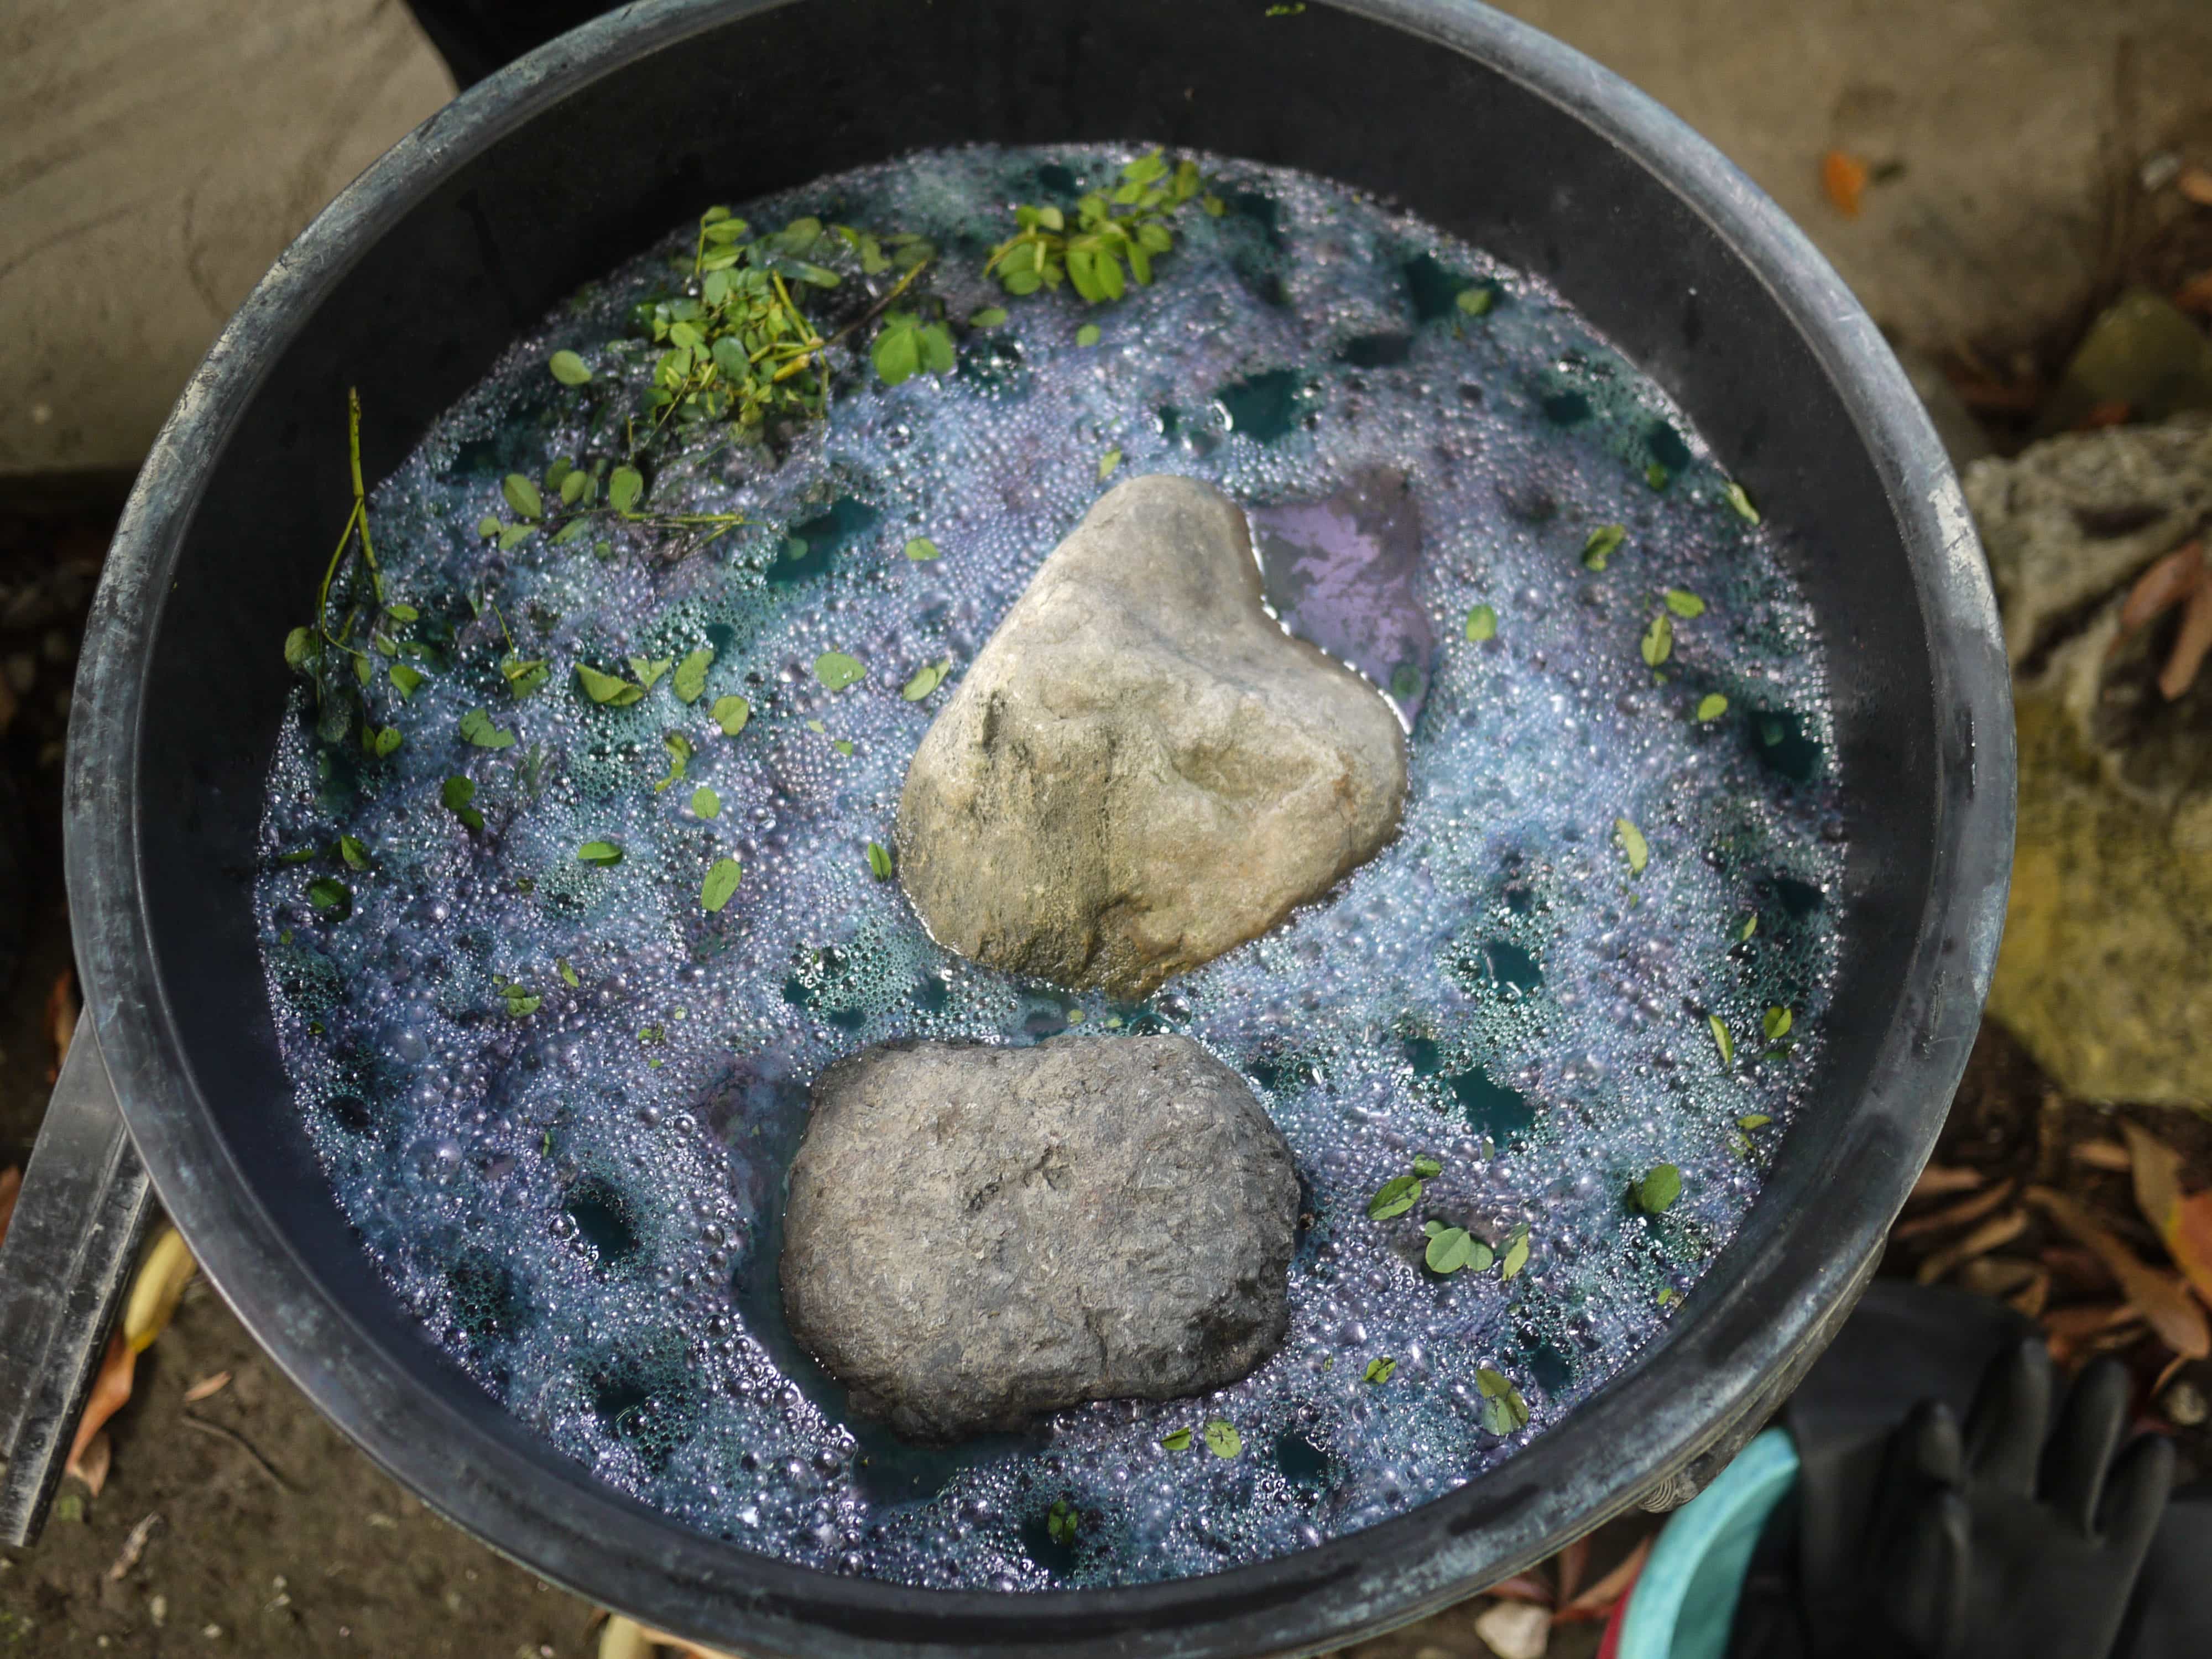
After a day has past, we lift the lids and peek under to see that the water has turned blue as if by magic!
Step 4: Removing the Bundles
The bundles are drained and removed. The plants are later used for fertilizer at Studio Naenna.
Step 5: Adding Lime
2% builders lime Ca(OH)2 is gently mixed into the colored water.
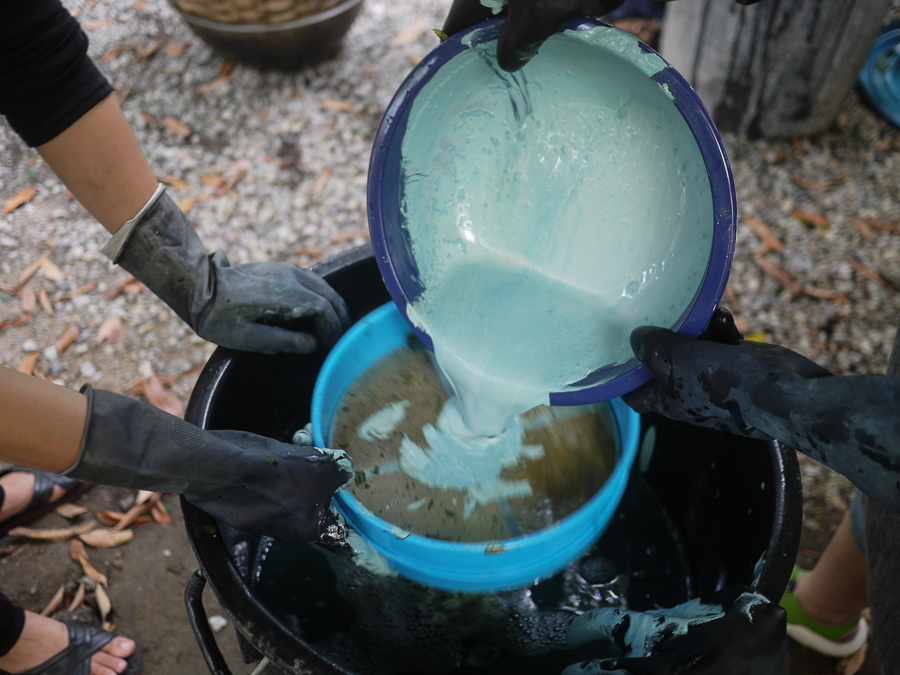
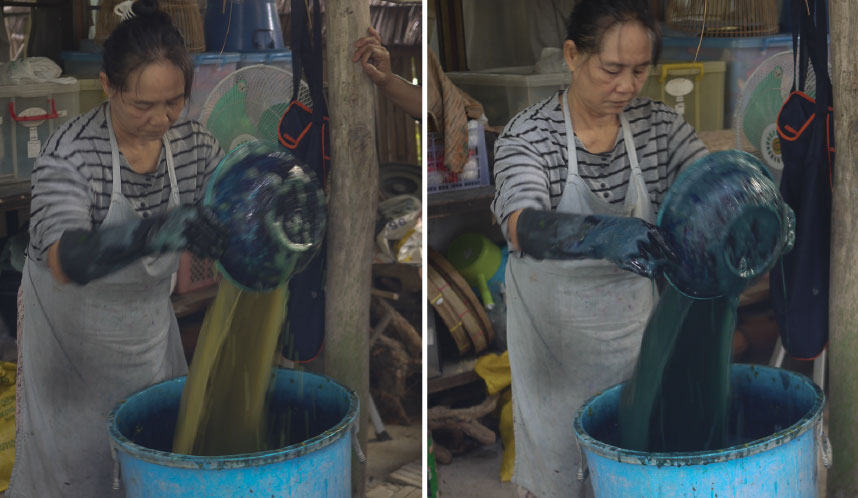
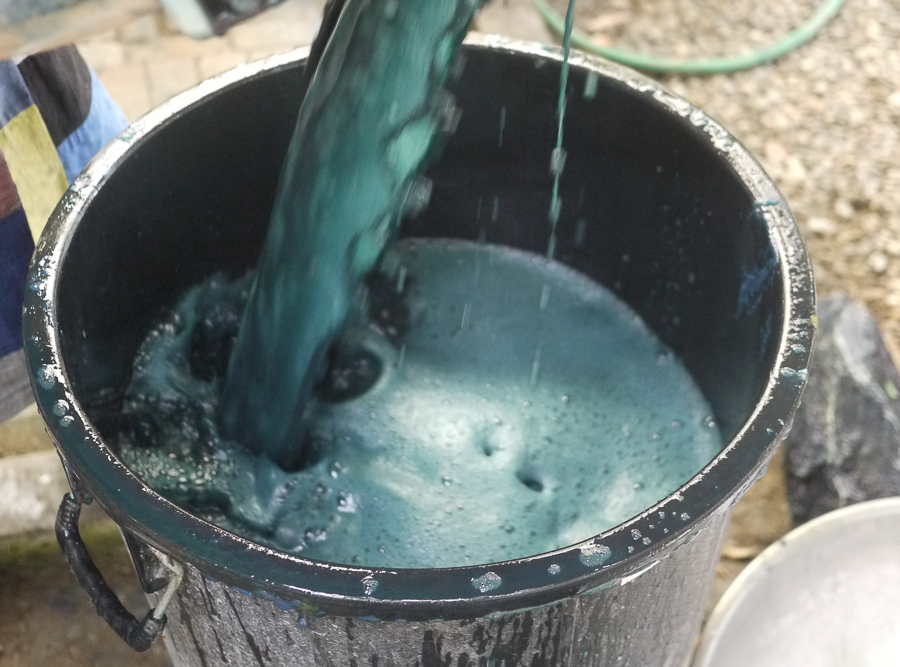
Step 6: The Beating Process
The water and lime must be beaten continuously for about 20 minutes - dipping the bowl in and out - oxidizing the mixture. The water changes from murky green to peacock blue to a frothy navy color.
Patricia has an ear for the sshhwaa sound of bubbles breaking that is the signal to stop beating.
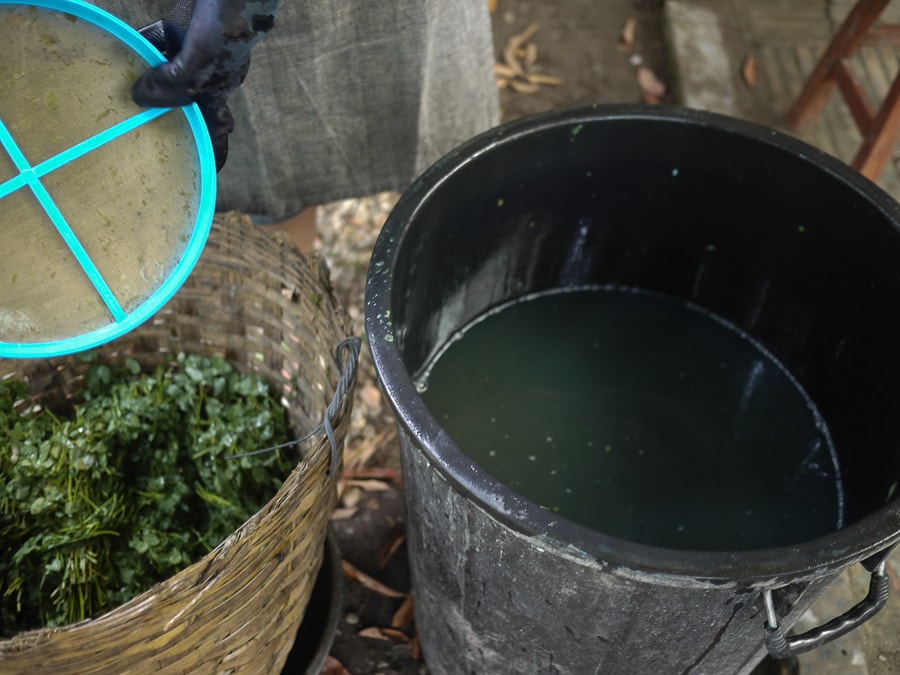
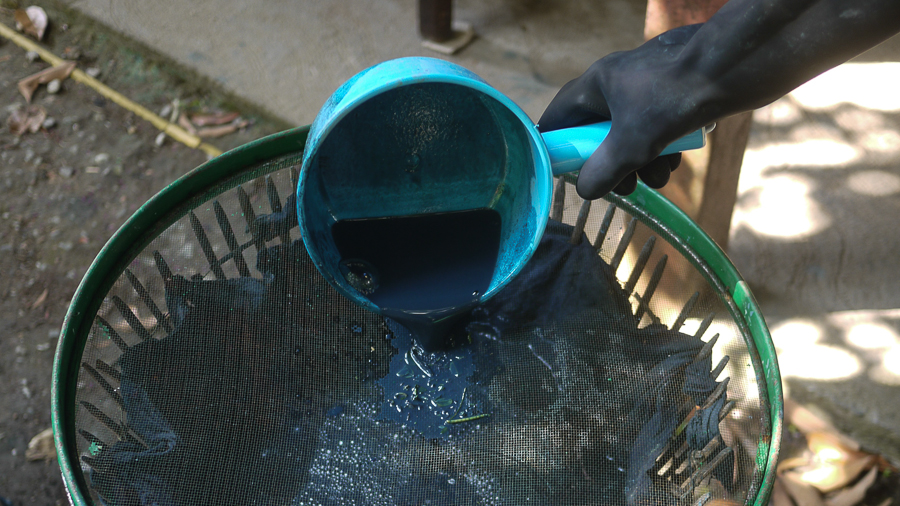
Step 7: Collecting the Paste
After the indigo paste precipitated to the bottom of the bin overnight, we carefully removed the brown water from the top. The paste is then collected by pouring it over mesh (collecting debris) then though a fine cotton cloth.
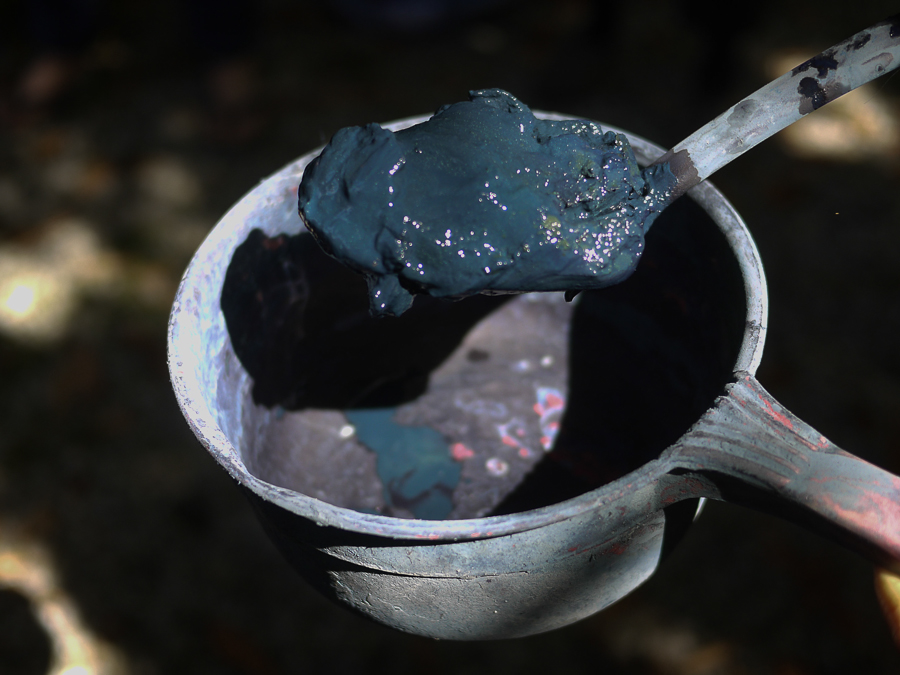
This is natural indigo paste. Notice the beautiful variations in color! In paste form, indigo can be stored in plastic bins for one to two years and used for dyeing later.

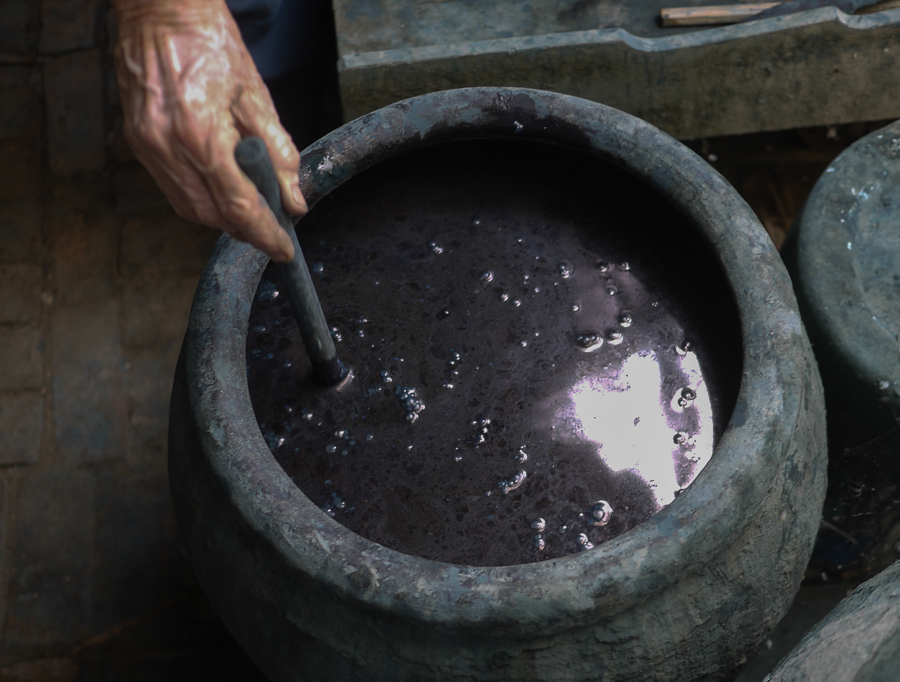
Step 8: Preparing the Vat
Dyeing takes place in the green form of indigo which is known, confusingly, as white indigo. The paste is mixed with ash water, fruit sugars or rice whiskey, and left to ferment. After a few days of stirring and adding sugars, it’s ready to dye with. Keeping an indigo vat alive is tricky, but Patricia has continually nurtured this vat for 25 years.
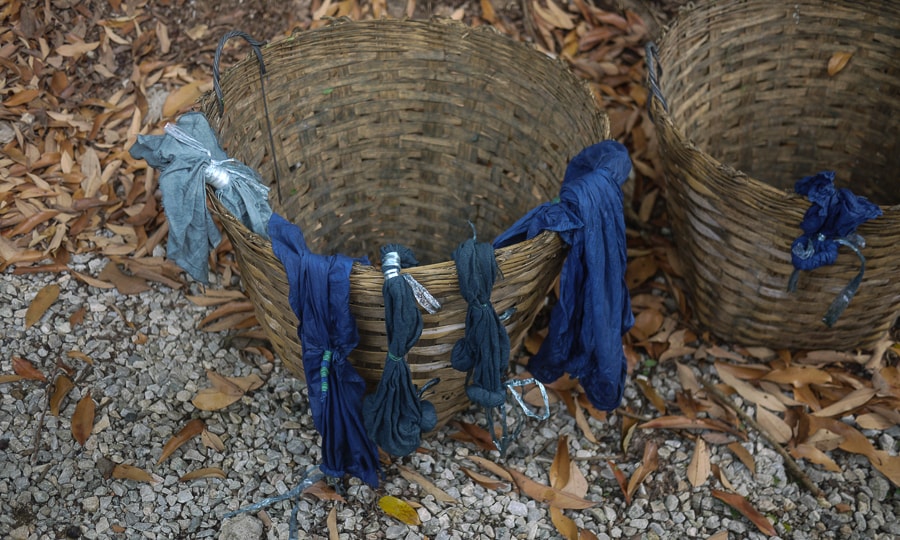
Step 9: Tie Dye and Shibori
Tie dye and Japanese shibori are created by tying, rolling, stitching, and folding white cloth before dyeing. The tied-up portions of cloth remain white while the exposed areas turn blue in the indigo vat.

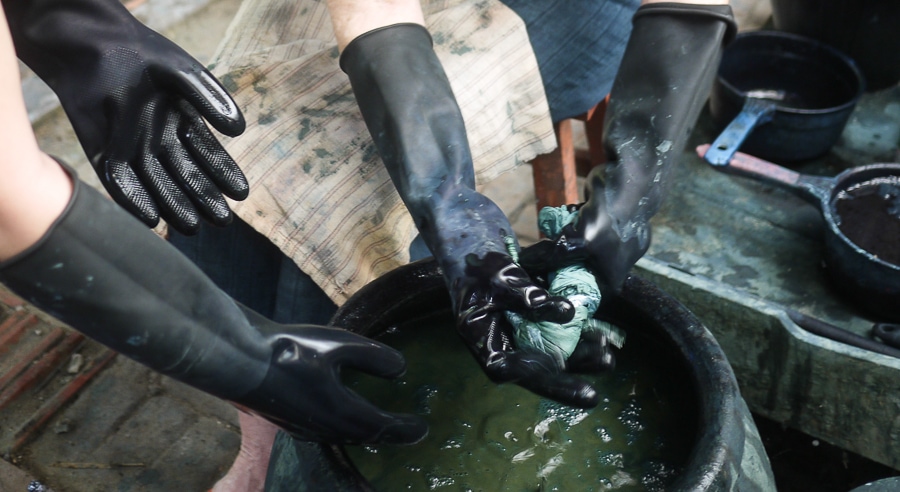
Step 10: Dyeing
The final step is dyeing. Cloth coming out of the white indigo vat has a green appearance but quickly turns blue with oxidation. Creating a light or a dark blue cloth requires multiple dips as indigo platelets are layered onto the cloth or yarn. Different shades of indigo after one or multiple dips in the vat.
To take part in an indigo workshop in Chiang Mai, Thailand, please contact Lamorna at Studio Naenna and ask about workshop dates and availability (and tell her 'Sawasdee ka' from her friend Lauren). Indigo harvesting season in Northern Thailand takes place annually at the end of rainy season – usually in September and October – depending on the weather. Other natural dye workshops are available at Studio Naenna year-round.


